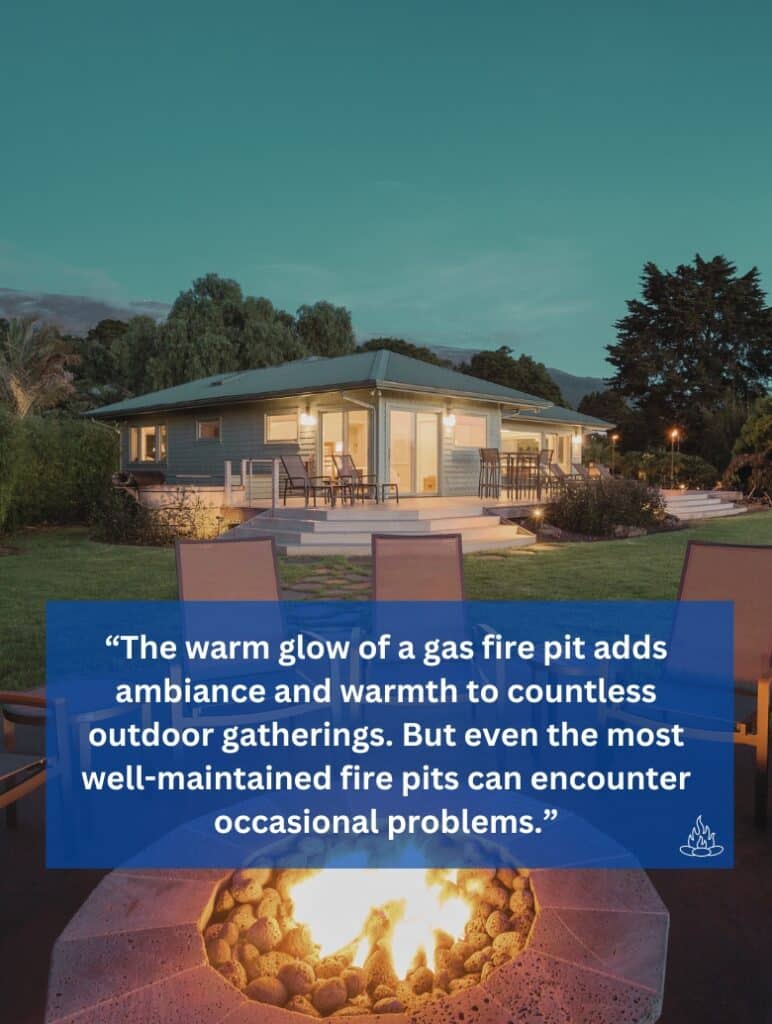
The warm glow of a gas fire pit adds ambiance and warmth to countless outdoor gatherings. But even the most well-maintained fire pits can encounter occasional problems.
As a professional fireplace technician, I’ve seen firsthand how minor issues can become major headaches if left unchecked. The good news is that many common problems have straightforward solutions you can tackle yourself.
This guide equips you with the knowledge to tackle 10 common gas fire pit problems.
For DIY enthusiasts, this guide offers valuable insights into identifying and resolving common gas fire pit issues. Remember, prioritize safety first. If you have any doubts, consult a qualified gas fire pit repair technician.
That said, here are the next steps!
Here are the telltale signs your fire pit needs attention.
Excessive black soot on the fire glass, lava rocks, or burner indicates incomplete combustion. Combustion problems can be caused by low gas pressure, clogged burner holes, or improper air intake, which are among the cons of outdoor fireplace use.
Excessive soot affects the fire pit’s aesthetics and can also lead to reduced efficiency and potential safety hazards, like breathing issues. Regularly cleaning and inspecting the burners, vents, and other components can help identify and address the underlying issues causing soot build-up.
Get free quotes from qualified experts near you. No commitment required!
The scent of gas typically resembles rotten eggs or sulfur, indicating a potential gas leak, which presents a serious safety hazard.
That scent is a serious red flag. Turn off the gas immediately and call a professional. Don’t touch light switches or other forms of electrical current in the home to avoid a potential spark that lights a fire. Leaking gas poses major safety risks!
Alternatively, the scent of burning wires, reminiscent of burning plastic or fish, could indicate electrical issues stemming from damaged wiring or components. Both gas and electrical issues should be addressed promptly by a qualified professional to ensure the safety and proper functioning of the fire pit.
If the pilot light stays off, flickers erratically, or blows out frequently, it could be due to a blocked line, faulty thermocouple, or malfunctioning igniter.
Check for clogs or debris obstructing the pilot orifice, ensuring it is clean and free from any obstructions. A faulty thermocouple or gas valve could be the culprit. If the pilot light constantly goes out, it’s a clear indication of a problem that requires attention.
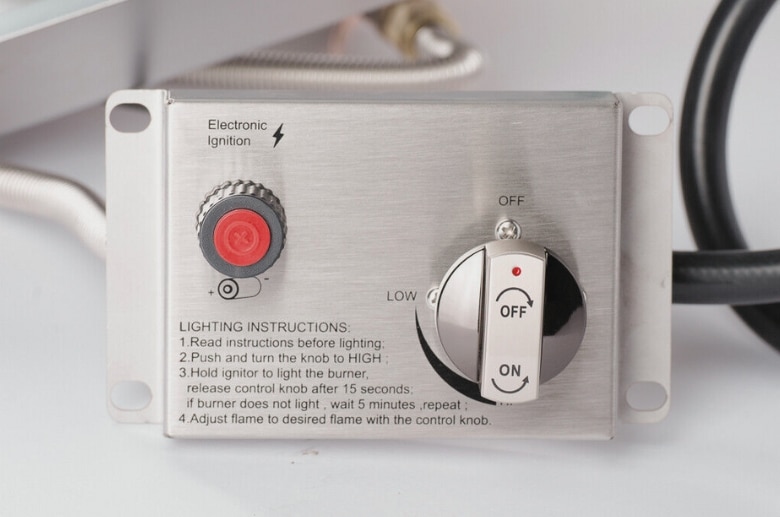
Problems with your gas fire pit’s on-off mechanism demand prompt attention to maintain safety and functionality. If the fire pit struggles to ignite or extinguish as intended, it may be due to issues with the ignition system, gas valve, or thermocouple.
Examine the ignition switch or button for any signs of wear, damage, or faulty wiring. Inconsistent ignition or difficulty in turning off the fire pit may indicate underlying problems that necessitate professional inspection.
Before we jump into fixing common issues, let’s first understand the key components at play:
Now that we’ve identified the warning signs, let’s tackle some common culprits behind fire pit woes and their potential solutions.
The gas valve controls the fuel flow, so ensuring it’s fully open is crucial. Locate the valve knob, usually near the fire pit’s base. Turn it clockwise firmly until it stops, ensuring a clean, complete turn. Never force it!
Here are the symptoms of a partially closed valve:
Follow these steps to verify that the igniter of your gas fire pit is functioning properly:
Air trapped in the pilot line can prevent proper ignition. Before purging, ensure the gas valve is off! Locate the purging valve (usually a small screw) near the pilot line. Open it briefly (less than a second) to release air, then close it tightly. Repeat if necessary until sparks reach the pilot.
That aside, here are some of the signs you need to purge:
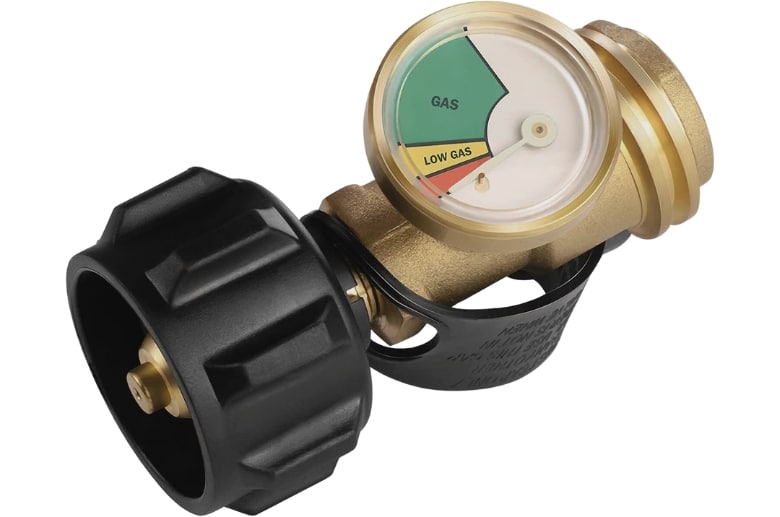
Check the propane or LP gas tank level. Use a gauge or consult the tank’s indicator to assess the remaining fuel. If the tank is empty, promptly schedule a refill to prevent interruptions in your fireplace’s performance and maintain a warm and cozy atmosphere.
Also, ensure proper reconnection and purge any air before attempting to reignite.
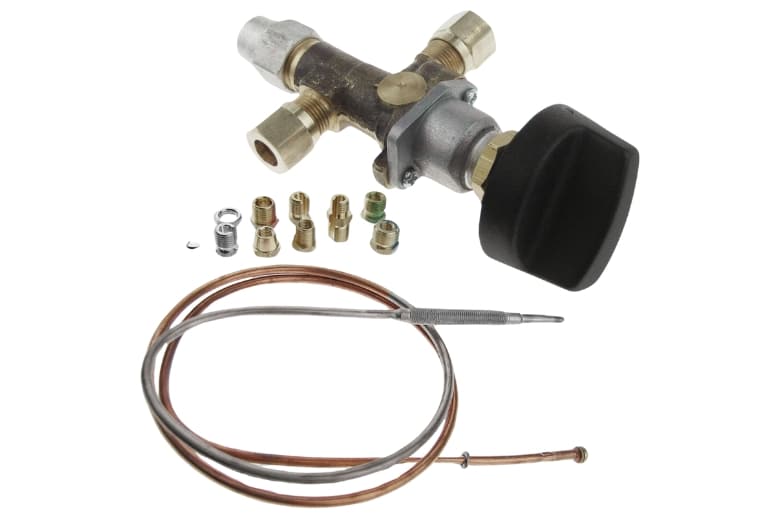
To ensure the thermocouple in a gas fire pit is properly heated, start by cleaning any debris around it. Check for a secure connection and adjust the position if necessary. The thermocouple plays a crucial role in keeping the pilot lit by generating voltage when heated, signaling the gas valve to stay open.
A loose thermocouple connection can disrupt the safety mechanism. Locate the connection point (usually near the gas valve) and ensure it’s secure. Tighten any loose nuts or screws gently but firmly. Avoid over-tightening.
Also, ensure the connection is free of debris. Regularly clean the area around the thermocouple to prevent potential disruptions. A secure connection is vital for proper ignition and consistent performance of your gas fireplace.
Debris like dust, spiderwebs, or even lava rock chips can clog the burner, hindering gas flow and causing uneven flames. Before inspection, turn off the gas and let the fire pit cool completely. Use a thin brush or compressed air to gently clear any blockages.
Double-check battery installation in electronic igniters. Ensure the polarity (+/-) matches the diagram and the battery is firmly seated. Loose connections or incorrect polarity can prevent sparks.
Here’s how to identify and fix battery-related issues:
Another common issue in gas fire pit repair is the battery powering the igniter. If the igniter fails to function, troubleshoot by checking for a dead battery.
Use a multimeter to check the battery voltage. Batteries below a certain level (usually specified in the manual) won’t provide enough power.
Replace the battery when the igniter weakens or stops working, ensuring a reliable and efficient gas fireplace operation.
In some models, the spark gap between the igniter and the burner might need to be adjusted for optimal ignition. Consult your user manual for specific instructions and adjustment procedures.
Signs the igniter needs adjustment:
By incorporating regular maintenance into your routine, you can significantly reduce the risk of future fire pit repairs, saving you time and money while ensuring continued enjoyment of your outdoor haven. Here are some key tips:
Clean your gas fire pit regularly to prevent debris, dust, and dirt from accumulating. Use a soft brush or a vacuum to remove loose particles from the burner, control panel, and surrounding areas.
Cleaning helps maintain optimal functionality and prevents potential blockages or malfunctions.
Get free quotes from qualified experts near you. No commitment required!
Periodically inspect the gas lines, hoses, and connections for any signs of wear, corrosion, or leaks. Tighten loose connections and replace damaged parts promptly.
A thorough professional inspection ensures the safe and efficient flow of gas, reducing the risk of leaks and potential fire hazards.

Invest in a high-quality cover to shield your gas fire pit from the elements when not in use. Exposure to rain, snow, and extreme temperatures can accelerate wear and tear.
However, a cover helps prevent rust, corrosion, and other weather-related damage, prolonging the life of your fire pit and minimizing the need for repairs.
You can also minimize future gas fire pit repair by adopting a proactive approach through seasonal care and proper storage. Here are some practical tips you can employ in different seasons.
Understanding how your fire pit operates empowers you to tackle minor gas fire pit repairs and maintain your product for years to come. The good news is that this guide has simplified that for you! Now you can:
With a little knowledge and proactive maintenance, you can keep your gas fire pit burning bright and safe, creating countless warm memories and enjoyable outdoor gatherings for seasons to come.